|
|
 |
Construction of a Birdhouse
Follow the sequence of photographs below to see the various stages of birdhouse construction; from the starting material through to the completed birdhouse. I have selected to use the 2009 Project Return Home donation birdhouse for this sequence of photographs. As you view these photographs, I hope it enhances your appreciation of my work and artistry. Thank you for joining me on my website.
For larger views, please click on the images. |
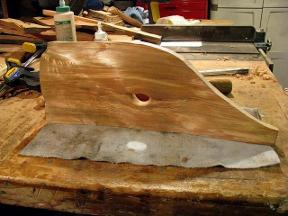 |
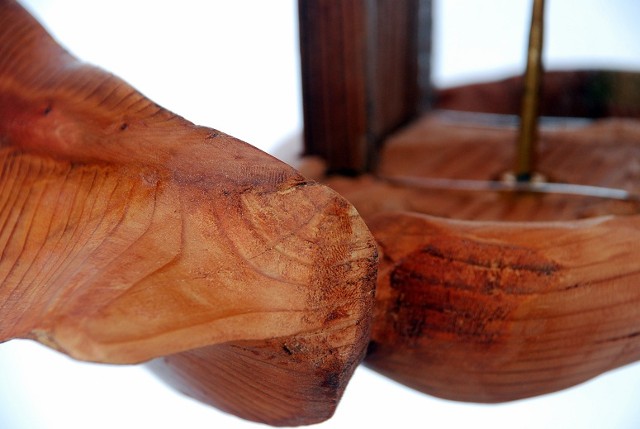
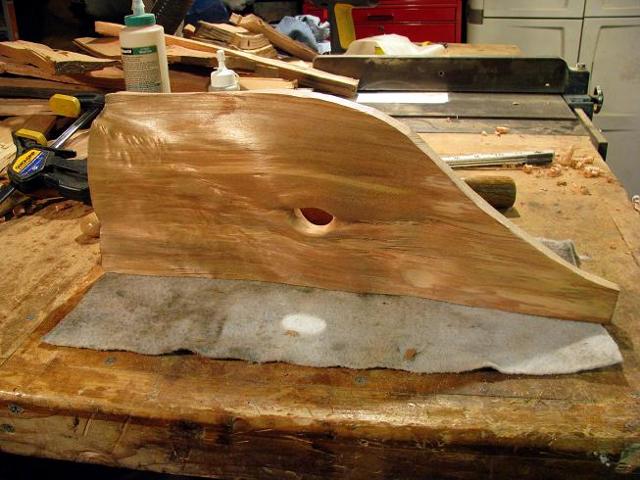
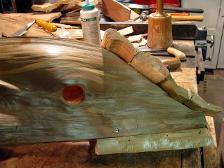
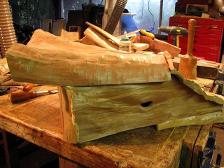
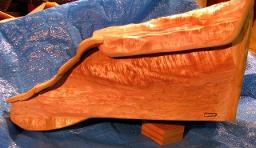
A project begins with the selection of a blank, or lift, split from a cedar log. The lift is rough-shaped to reflect the finished size requirements of the intended bird species for that particular birdhouse. Artistic considerations, such as grain patterns, and knot location on the lift, are also determining factors in this rough-shaping stage of the facing piece. The knot hole is final sized and surface finished at this point. |
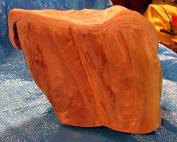
A rough lift of cedar is selected to form the back wall of the birdhouse. |
 |
 |
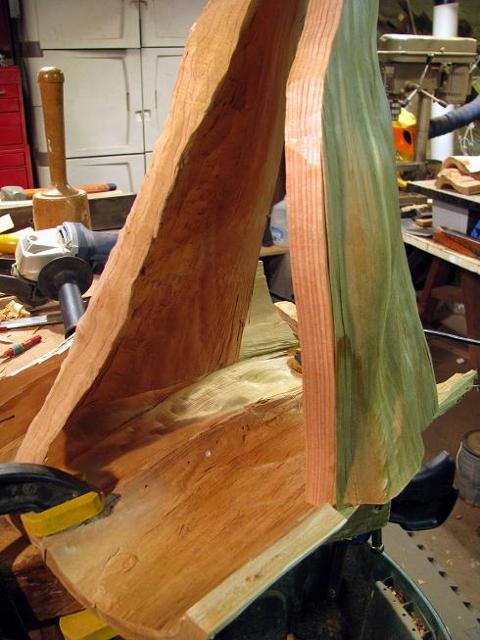
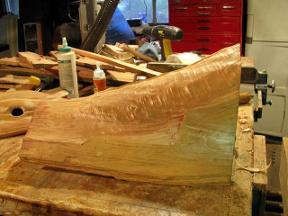
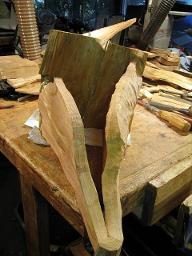
The back wall piece is roughly shaped to its final form and is matched up to the front piece. |
 |
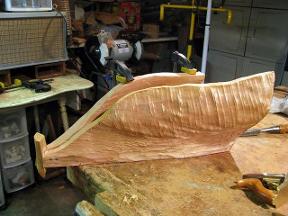 |
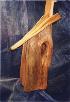
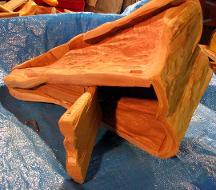
A nose piece is selected and installed, attaching the front and back wall pieces together. This step will also establish the overall finished shape of the birdhouse and the amount of floor space for nesting. |
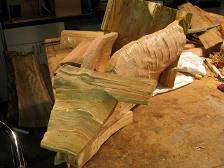
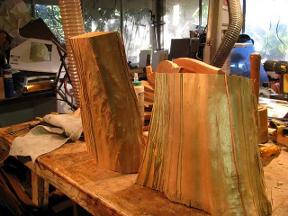
Starting cedar log sections are selected from lifts will be taken and used for the end, or final wall section of the birdhouse. |
 |
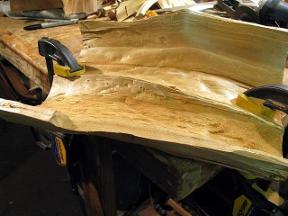 |
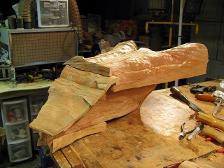
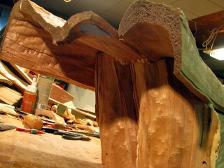
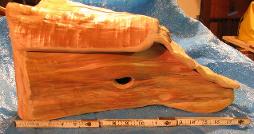
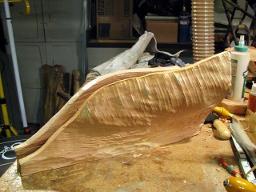
Because the end wall width dimension exceeds available stock widths, two rough lifts are jointed and glued together to form the rough end wall piece. |
This view shows the rough end wall piece being fitted and marked to the front/back wall pieces. After marking the piece to its approximate shape, it will be trimmed and the jointing edges fitted for glue-up. |
 |
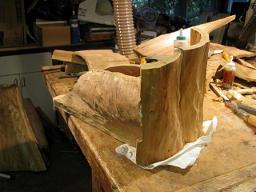 |
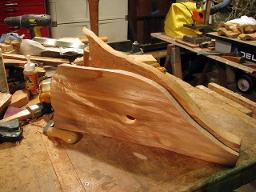
The rough end wall piece is glued and attached to the front/back wall pieces, and the glue is allowed to cure for a day. |
 |
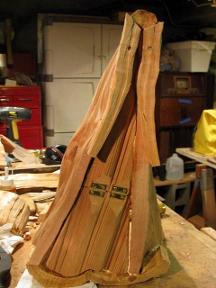 |
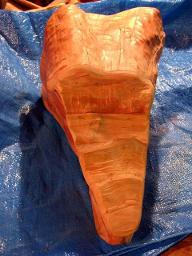
The floor of the birdhouse has been shaped and installed into the birdhouse. This photograph shows the hinged section of the floor piece which allows for the clean out of the birdhouse between nesting seasons. Also shown are two add-on pieces to the bottom nose-end of the birdhouse, these will be shaped later as part of the over-all final design of the birdhouse. |
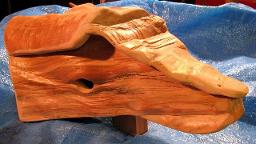
On this particular birdhouse I have started at the nose end of the piece, and worked towards the end-wall of the house. While still following the abstract form, this approach permitted me to create tightly fitted joints between the roof pieces for better weather tight seals. It also enhanced the artistic form of the birdhouse. |
The remaining roof pieces have been shaped and jointed, and are glued onto the birdhouse. With this step completed, the physical construction of the birdhouse is finished. Following completion of the roof, I trim and shape all of the roof pieces and wall jointures birdhouse to reveal the final design that I envisioned for this birdhouse when I started with the front, knot-hole piece |
Viewing this sequence of photographs not only reveals the completed birdhouse; but they also show the final results of some forty-plus hours of design and physical work processes. |
|
|
|
 |
 |
 |
|
 |
|